Whether you’re personalizing T-shirts, creating custom merch for your small business, or exploring a new hobby, a heat press machine is one of the most versatile tools you can add to your workspace. Compared with a household iron, a heat press offers much more consistent temperature, time, and pressure—giving your projects a polished, professional finish. If you’re new to heat pressing, learning how to use a heat press machine might feel intimidating at first. But once you understand the basics, you’ll be surprised at how easy and enjoyable the process becomes. Let’s walk through the essentials so you can get started with confidence.
Understanding Your Heat Press Machine
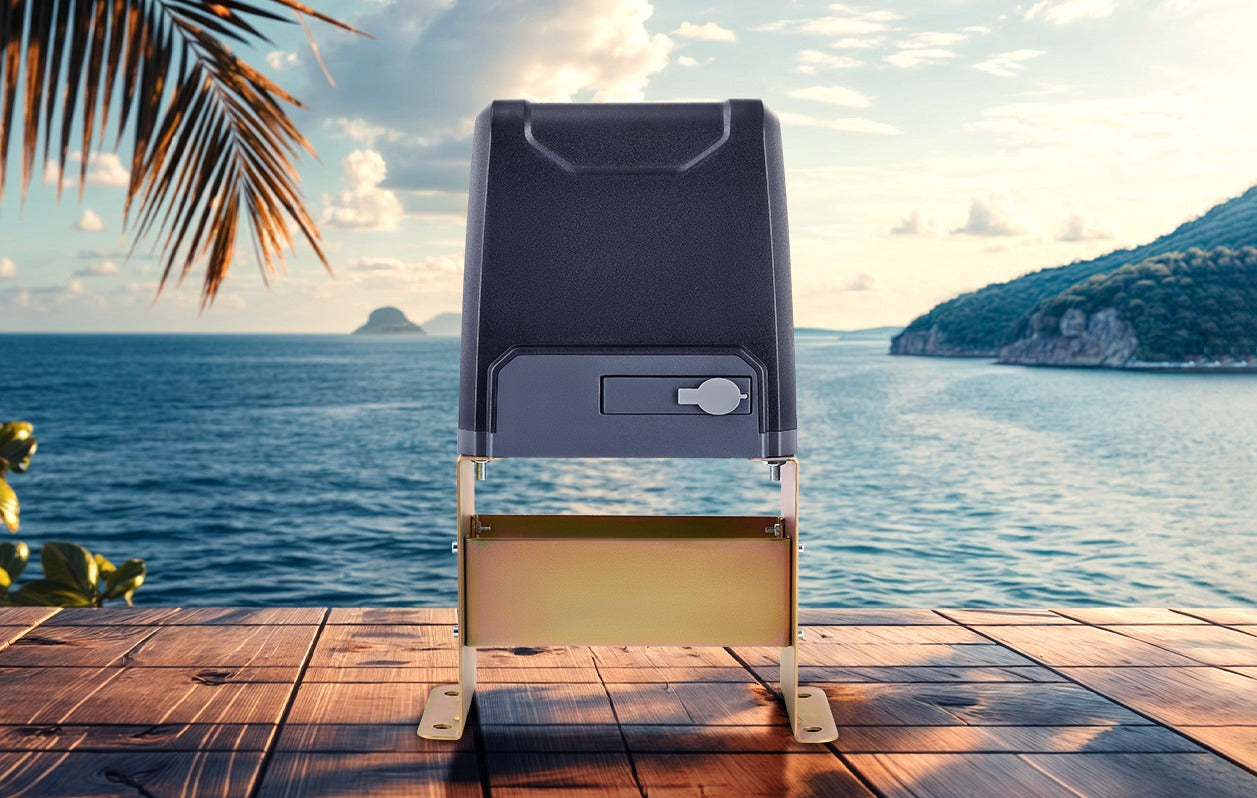
Before you start pressing your first shirt or tote bag, it helps to get familiar with the machine itself. A clear understanding of the basic components and controls will make the entire process smoother—and once you grasp these essentials, you're already halfway to mastering how to use a heat press machine. In this guide, we’ll use the CO-Z Heat Press Machine as the example model. It’s a popular choice among beginners and small businesses because of its straightforward design and reliable performance. Below is the product diagram to help you quickly identify each part of the machine.


Step-by-Step Guide: How to Use a Heat Press Machine
As we have said above, this guide will use the CO-Z Heat Press Machine to illustrate the operation process. If your machine is a different brand or style, some steps may vary. Please make sure to check your specific user manual to ensure proper operation.
Notes:
1. Temperature and time will vary for different materials with different thickness.
2. Try a small sample to get the right temperature and time before printing in large quantities.
3. Clothing requires a temperature of about 356°F (180°C). Sublimation paper for fabric clothing uses about 30-50 sec. Transfer paper for 100% cotton clothing uses about 15-20 sec.
This heat press's default temperature is 356°F (180°C). The default countdown is 30 seconds. Remember to adjust these settings according to your material. ALWAYS heat up the press with the heating element separated from the base. Never heat with the two halves already together.
1.T-shirt Attachment
- Use the main flat platen to press designs into T-shirts.
- Lay shirt across the bottom plate, centered on the desired location for your design.
- Smooth outany wrinkles.
- Lay down your design, remembering to reverse it so that its backing faces upward.
- If you use a cover sheet, smooth out any wrinkles.
- Close the press. Open it and remove your shirt when the countdown is done. Allow a few minutes to cool.
2. Ceramic Plate Attachment
The usual flat platen can be removed by loosening the screws which hold it to the main handle. The plate attachment easily attaches using the same screws. Once it is in place, connect it to the control box using the electrical relay. For best results, use specially-purposed sublimation ceramic plates and use high-temperature tape to hold the reversed design in its proper location at the center of the plate.


3. Cap/Hat Attachment
The cap/hat attachment has two parts. The top part easily attaches using the screws on the handle as before. Once it is in place, connect it to the control box using the electrical relay. To install the bottom half, unscrew and slide out the flat lower plate along its rails. Slide in the curved hat base and screw it into position. Place the front of your hat over the curved base, remembering to pull down its inner lining. Use the lever to pull down the back of your hat, tightening the material and creating a smooth work surface. Again, high-temperature tape can help hold the design in place. If you use a cover sheet, smooth any wrinkles.


4. Cup Attachment
The cup/mug attachment has three parts. One screws into the top and the second slides and screws into the bottom rails. The mug pressl platen fits between these two halves and is pressed tight using them. Tighten it around the mug using the four screws next to its open side. Once it is in place, connect it to the control box using the electrical relay.
Use of sublimation mugs and high-temperature tape to hold the design firmly in place are both highly recommended.


Temperature and Time Settings for Common Materials
It’s helpful to know the recommended temperature and time for different materials. Here’s a quick reference you can follow during your projects.


Why We Recommend the CO-Z Heat Press Machine
If you’re still choosing your first (or next) heat press, the CO-Z Heat Press Machine is a solid option for beginners, hobbyists, and small business owners alike. It’s easy to use, surprisingly versatile, and packed with features that make heat pressing more efficient and enjoyable:
-
8-in-1 versatility: Swap the flat platen for included attachments like the cap press, mug presses, and plate presses—perfect for shirts, hats, cups, ceramic tiles, coasters, bags, and more.
-
User-friendly controls: The dual LED display is clear and intuitive, showing your exact time and temperature so you always know when to lift and swing away.
-
Powerful performance: With 1250W of power and temperatures up to 480°F, it’s ready for everything from HTV to sublimation transfers.
-
Built for flexibility: The adjustable pressure knob and 360° rotation make it easy to work with different materials and thicknesses.

Conclusion
Learning how to use a heat press machine opens the door to endless creative possibilities—from custom apparel and corporate gifts to handmade items you can sell or share. Once you get comfortable with the basic settings and workflow, you’ll be able to produce designs that look clean, vibrant, and professionally made. Take your time, experiment with different materials, and enjoy the process. With a bit of practice, your heat press machine will quickly become one of your favorite tools in your creative arsenal.