Many homeowners hesitate to sand their own drywall because they fear it’s too complicated and that it requires too much work. Sure, it can be a bit messy and tedious, but with the right tools and our tips, you can do it like a pro.
The key to sanding a drywall is to make sure you have all the polishing tools you need to make the process as tidy as possible, the necessary gear to protect yourself, and you know what grit to begin with.
This blog will explain all the steps involved to sand your drywall to perfection, ensuring a smooth and uniform wall surface for smooth and successful painting or wallpaper application.
What You Need Before You Start
Before you can get to work, you need to do some preparation. There are several things you will need:
- Several sheets of fine-grit sandpaper or sanding sponges
- Protective goggles and gloves
- An N95 facemask that will protect your airways
- A vacuum that will collect the dust, or at least some old rags that will catch the dust and protect your floors

How to Sand a Drywall Without Getting Dust Everywhere
1. Start By Preparing the Room
- We suggest that you remove all furniture and your other belongings from the room. Otherwise, it might end up covered in dust.
- Tape plastic over doorways, air vents, and any items that you couldn’t remove from the room.
2. Next, Gear Up and Protect Yourself
- Next, put on your goggles, gloves, and N95 facemask.
- If you are using an electric sander, wear ear protection, such as earmuffs.
- Wear some old clothes, because they will get covered in dust, and you don’t want to ruin your favorite shirt or pants.
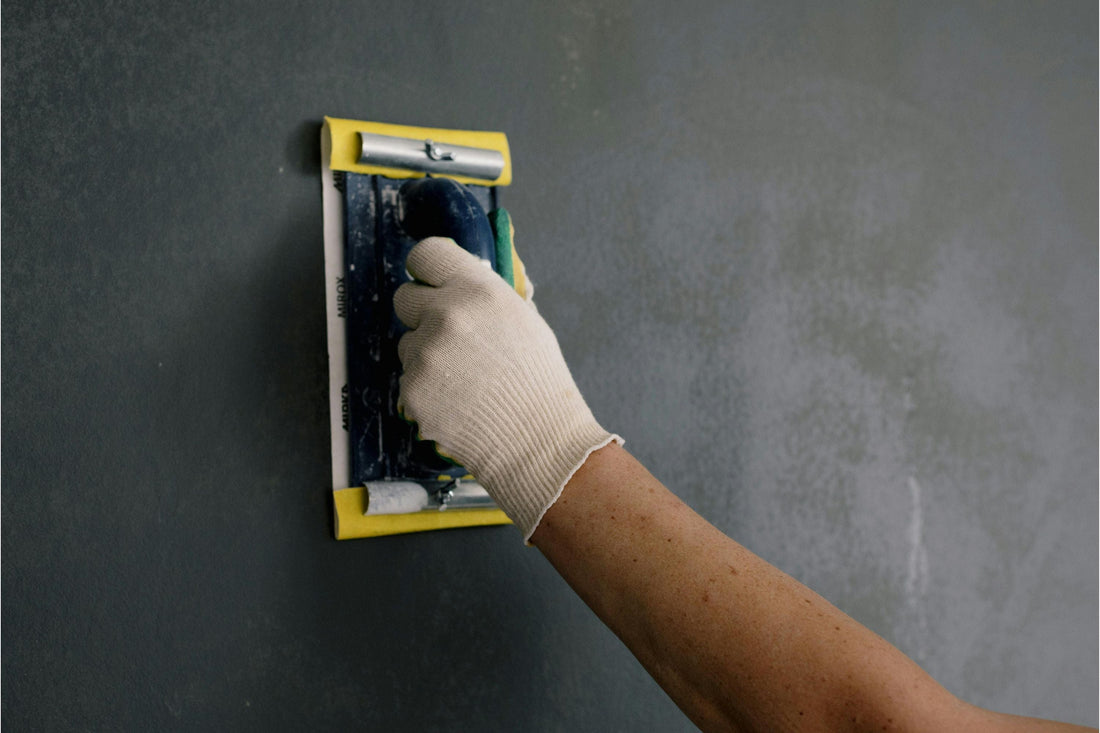
3. Start Sanding
It’s time to start sanding. The process of sanding a drywall differs slightly depending on whether you are using an electric sander or a manual sander.
However, regardless of whether you use an electric sander or do it manually, start with 120–150 grit to shape. Then, slowly move onto 220 grit to make the surface smooth.
If you are doing all of this manually, do one patch at a time, and then move to the next one. With an electric sander, you can quickly do entire walls.
4. Apply Mud as You Go
- Next, apply mud to the joints and screw holes. Cover it with tape and let it dry. Once it’s dry, sand it. Sand any remaining seams and ridges.
- Then, use a sanding sponge or sandpaper to smooth the corners and other hard-to-reach surfaces.
5. One More Check
- Shine the light onto the walls to check if there are any imperfections. If needed, apply more mud or do more sanding.
- Vacuum the walls and wipe them with a barely damp cloth. Once they are dry, apply the primer.
Tips for Sanding Drywall Mud
The whole point of sanding your drywall is to even it out, not to grind it away. When sanding the drywall mud, sand only enough to smooth out the surfaces and remove any ridges.
- Try to use minimal pressure, as it will allow you to keep control over your strokes.
- Use long and even strokes. Avoid short and choppy movements. Start with a coarser grit and move slowly to the finer grit.
-
Avoid oversanding - you do
n’t want to expose the drywall tape. If that happens, you will need to apply more drywall mud, let it dry, and re-sand it.
- Also, use the light from a flashlight aimed at a low angle. This will reveal all imperfections or mistakes, allowing you to fix them before it’s too late.
- Finally, focus most of the sanding on the seam edges, not on the middle. By doing it this way, you will make a smooth transition with the rest of the wall.

Why Electric Sanders Work Better
There are several reasons why electric sanders work better than when you do it manually. Overall, electric sanders are also much better at maintaining consistent pressure while sanding the wall. This will ensure a more even and smooth surface. Doing this manually can often lead to dips in the drywall, which can cause certain issues later on.
- They are faster. First of all, they are much faster, which is especially useful when you want to sand entire walls.
- They are Less Demanding. Sanding a drywall manually gets tiring, and your hands will start to ache long before you are even close to finishing your work.
- Most electric sanders can be connected to your vacuum, or they come with built-in dust bags. This collects almost all dust, which means you won’t have to deal with it later, and you will protect your airways even more.
Keep your vacuum on during this entire process. This will ensure minimal dust. Additionally, you can cover the floor with old rags to collect any dust that escapes the vacuum. Ideally, someone should help you by holding the vacuum while you sand.
Affordable Electric Sander from Co-Z
CO-Z 800W Electric Drywall Sander with Vacuum Attachment and Handles
This 800W electric drywall sander comes with multiple useful features: an adjustable swivel head, an extendable handle, variable speeds, and a built-in vacuum dust collection. Its other features include: automatic surface adjustment, LED lighting, and a full accessory kit with 12 sanding disks.
Conclusion
After reading this article, you know all about how to sand drywall. It’s rather easy once you learn how to do it properly, especially if you do it with an electric sander. If you don’t have an electric sander, you can find an affordable one at CO-Z!